Be it the craze to receive more likes or flaunt your pictures; aren't all of us are obsessed to make it look compelling on social media platforms? And for many of us, Facebook is the most popular platform for updating our daily events. For the same, the application also keeps adding features with which one can create an impressive profile & get an enhanced user experience. In the same queue, a new feature of the 3D photo was also introduced. This adds depth, a slight lifelike dimension & makes pictures pop on the screen.
Well, the summers are around the corner & this is the right time for all netizens to share their adventures. But what’s the fun without some uniqueness! And, this article is all about sharing pictures in a different way. As you will come towards the end of the article, you’d know what are 3D photos, how they work, & how you can take a better 3D photo on your amazing camera smartphones.
The essence of the 3D picture is that you have to keep the subject in the foreground & depth is created from whatever rest is in the background. One can achieve easily achieve it by adjusting the focus point.
It is important to know that algorithms developed for Facebook 3D photos measure distance between the background & foreground of the subject using ‘depth maps’.
Well, take a note that this feature can be implemented only on pictures clicked through a smartphone that takes portrait shots. In simple words, to try this effect you need at least a dual rear or dual selfie camera smartphone.
To start with, for a 3D picture on Facebook you need an impressive portrait shot that has a subject. It's best if your subject is an object like miniatures, models, toys, flowers, etc. However, humans & animals work too but you need to make sure there’s no movement while clicking the shot.
We are sure by now you have done word painting for what kind of 3D picture you will be trying out. But, before you get into the action, do remember these tips on how to click 3D pictures-
Tip 01: Keep your subject in a distinct background or fill the space with elements that put your object in the foreground with a significant emphasis on it. Basically, if you want your perfect 3D photo after being processed then click a shot that can be separated into layers.
Tip 02: If you are clicking a picture in portrait mode, the depth matters a lot. So, while you capture a shot keep a distance of 10-18 inches from your subject for better depth calculation.
Tip 03: Stillness is the key to get that perfect shot. The depth camera usually takes time to process. This is why no matter how good your smartphone camera is; it takes time to set focus on the subject. So, taking pictures of moving subjects will give you blurry results.
Tip 04: If you are shooting landscapes, It’s difficult to calculate their depth. So, capture the vast beauty by placing an object in the frame be it a leaf, chain, stone a tree, etc. near to the ground for capturing depth & get better results.
Tip 01: Avoid taking shots of object with fine details such as cables, wires or wisps as their 3D picture will not deliver exemplary results. It’s so because the depth calculations require volume that you can’t show in these pictures.
Tip 02: Avoid shooting any geometric shape from its head-on. Go ahead only if you a find a dimension that completely captures its 3D shape.
Tip 03: Low light usually ruins the image & depth calculations are impossible and usually don’t work. If there are subjects that your camera can’t see, avoid taking pictures, or else there will be wonky results.
Not just sharing, but even to create a 3D picture you need to have a Facebook android application. Once you have installed or opened the preinstalled application, follow these steps:
- Tap on ‘What's on your mind?’ box at the top of your news feed from the options.
- Scroll down the options and tap on 3D Photo.
- From your gallery select the picture you want to convert.
- Tap Share/Post once it has been processed.
Well, it’s not possible for your first few shots to look perfect. It will take a few attempts to figure out the right composition, subject & blend of the light. If you’ve found this article useful like it & let us know your feedback in the comment section below.
Top 3 Best Camera Phones

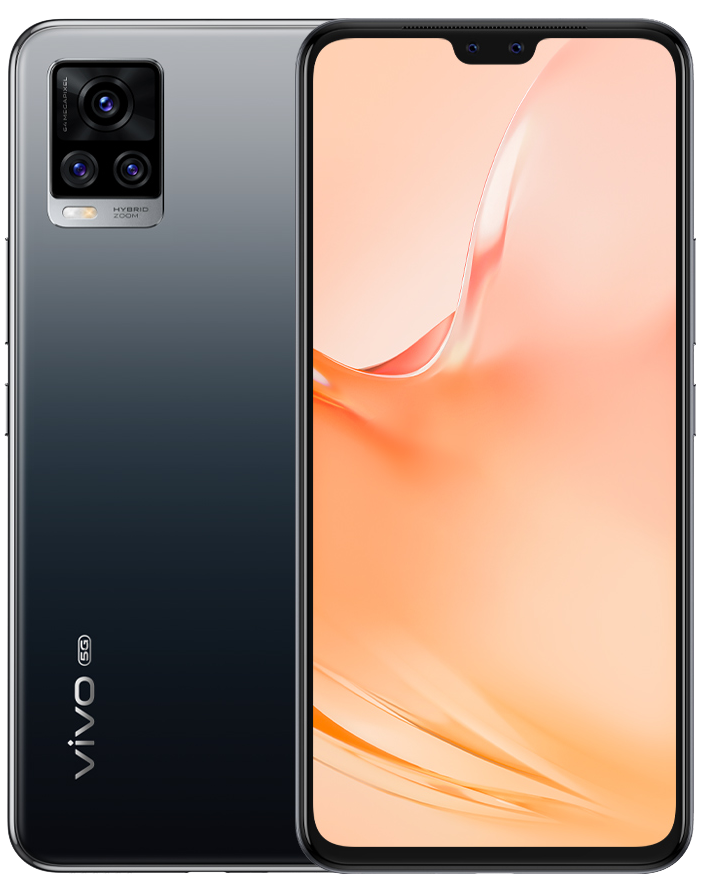
Vivo V20 Pro
Highlights:
- 44 MP Eye AF + 8 MP Wide-Angle Selfie cCamera
-
64MP AF Night Camera + 8MP AF Multi Function Camera + 2MP Mono Camera
-
4K Video Recording
-
Art Portrait Video
-
3D Sound Tracking
-
Aura screen light
- Super Night Selfie
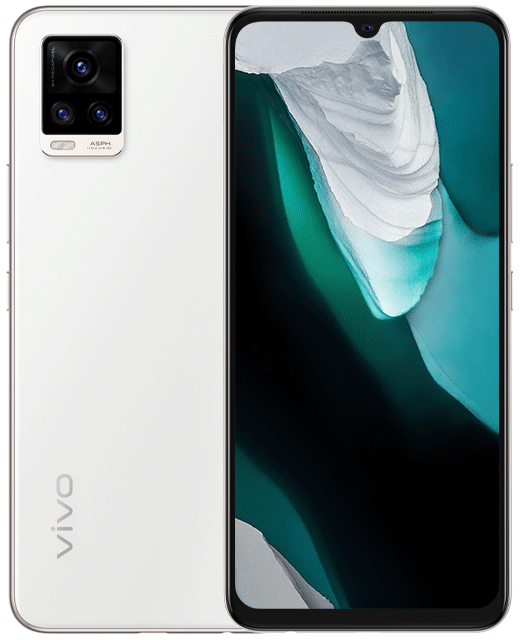
Vivo V20 SE
Highlights:
- 32MP Selfie Camera
-
48MP AF Primary Camera + 8MP AF Wide Angle/Macro Camera + 2MP Bokeh Camera Triple Rear Camera
-
Super Night Mode
-
Art Portrait Video
-
Aura Screen Light

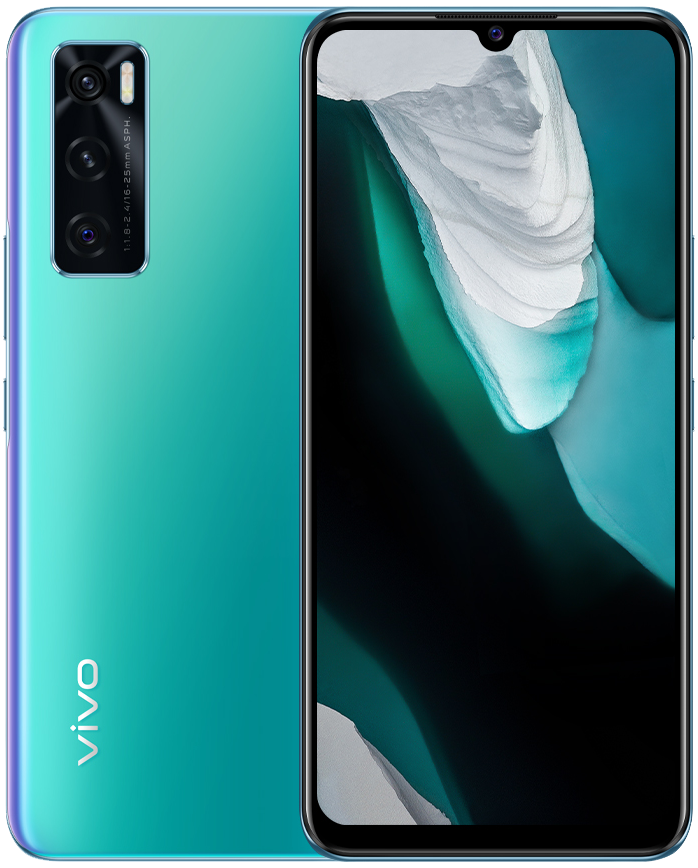
Vivo V20
Highlights:
- 44MP AF Selfie Camera
-
64MP AF Primary Camera + 8MP AF Wide Angle/Macro Camera + 2MP Bokeh Camera Triple Rear Camera
-
4K Video Recording
-
Multi Style Portrait
- Super Wide Angle Night Mode


Leave a Reply